Your young player finishes a bullpen and someone yells, “Go long toss!” You nod like you know exactly what that means. But here’s the truth most parents never hear: long toss done right builds arm strength, and long toss done wrong builds sore elbows. The gap between those two things is smaller than you’d think. The good news? Once you know a few simple rules, you can spot the difference in about ten seconds. At Cage Time Acworth, we coach long toss every week, and we want your player to throw hard for years, not just this season.
What Long Toss Actually Is
Long toss is exactly what it sounds like: two players throwing back and forth, slowly backing up until they’re a long way apart. It stretches the arm out, builds strength, and helps a young player learn to throw with their whole body instead of just their shoulder. It’s one of the oldest tools in baseball for a reason. When it’s done with care, it’s one of the safest ways to build a stronger, faster arm.
But long toss is not a max-effort throwing contest. A lot of kids see how far they can chuck it and turn it into a home run derby with their arm. That’s where trouble starts. The goal isn’t distance for the sake of distance. The goal is smooth, strong, controlled throws that teach the arm how to work the right way.
There are really two phases to a good long toss session. The stretch-out phase is where players back up and let the ball travel on a gentle arc, building strength. The pull-down phase is where they come back in and throw on a flat, hard line. Both matter, and skipping either one means missing the real benefits. Stretch out to build the arm, pull down to sharpen it.
The Do’s
These are the habits that turn long toss into a genuine arm-builder. Get these right and you’ll see a stronger, more confident thrower within a few weeks.
- Do warm up first. Never start long toss cold. A few minutes of light jogging, arm circles, and short easy throws get the blood moving so the arm is ready to stretch out.
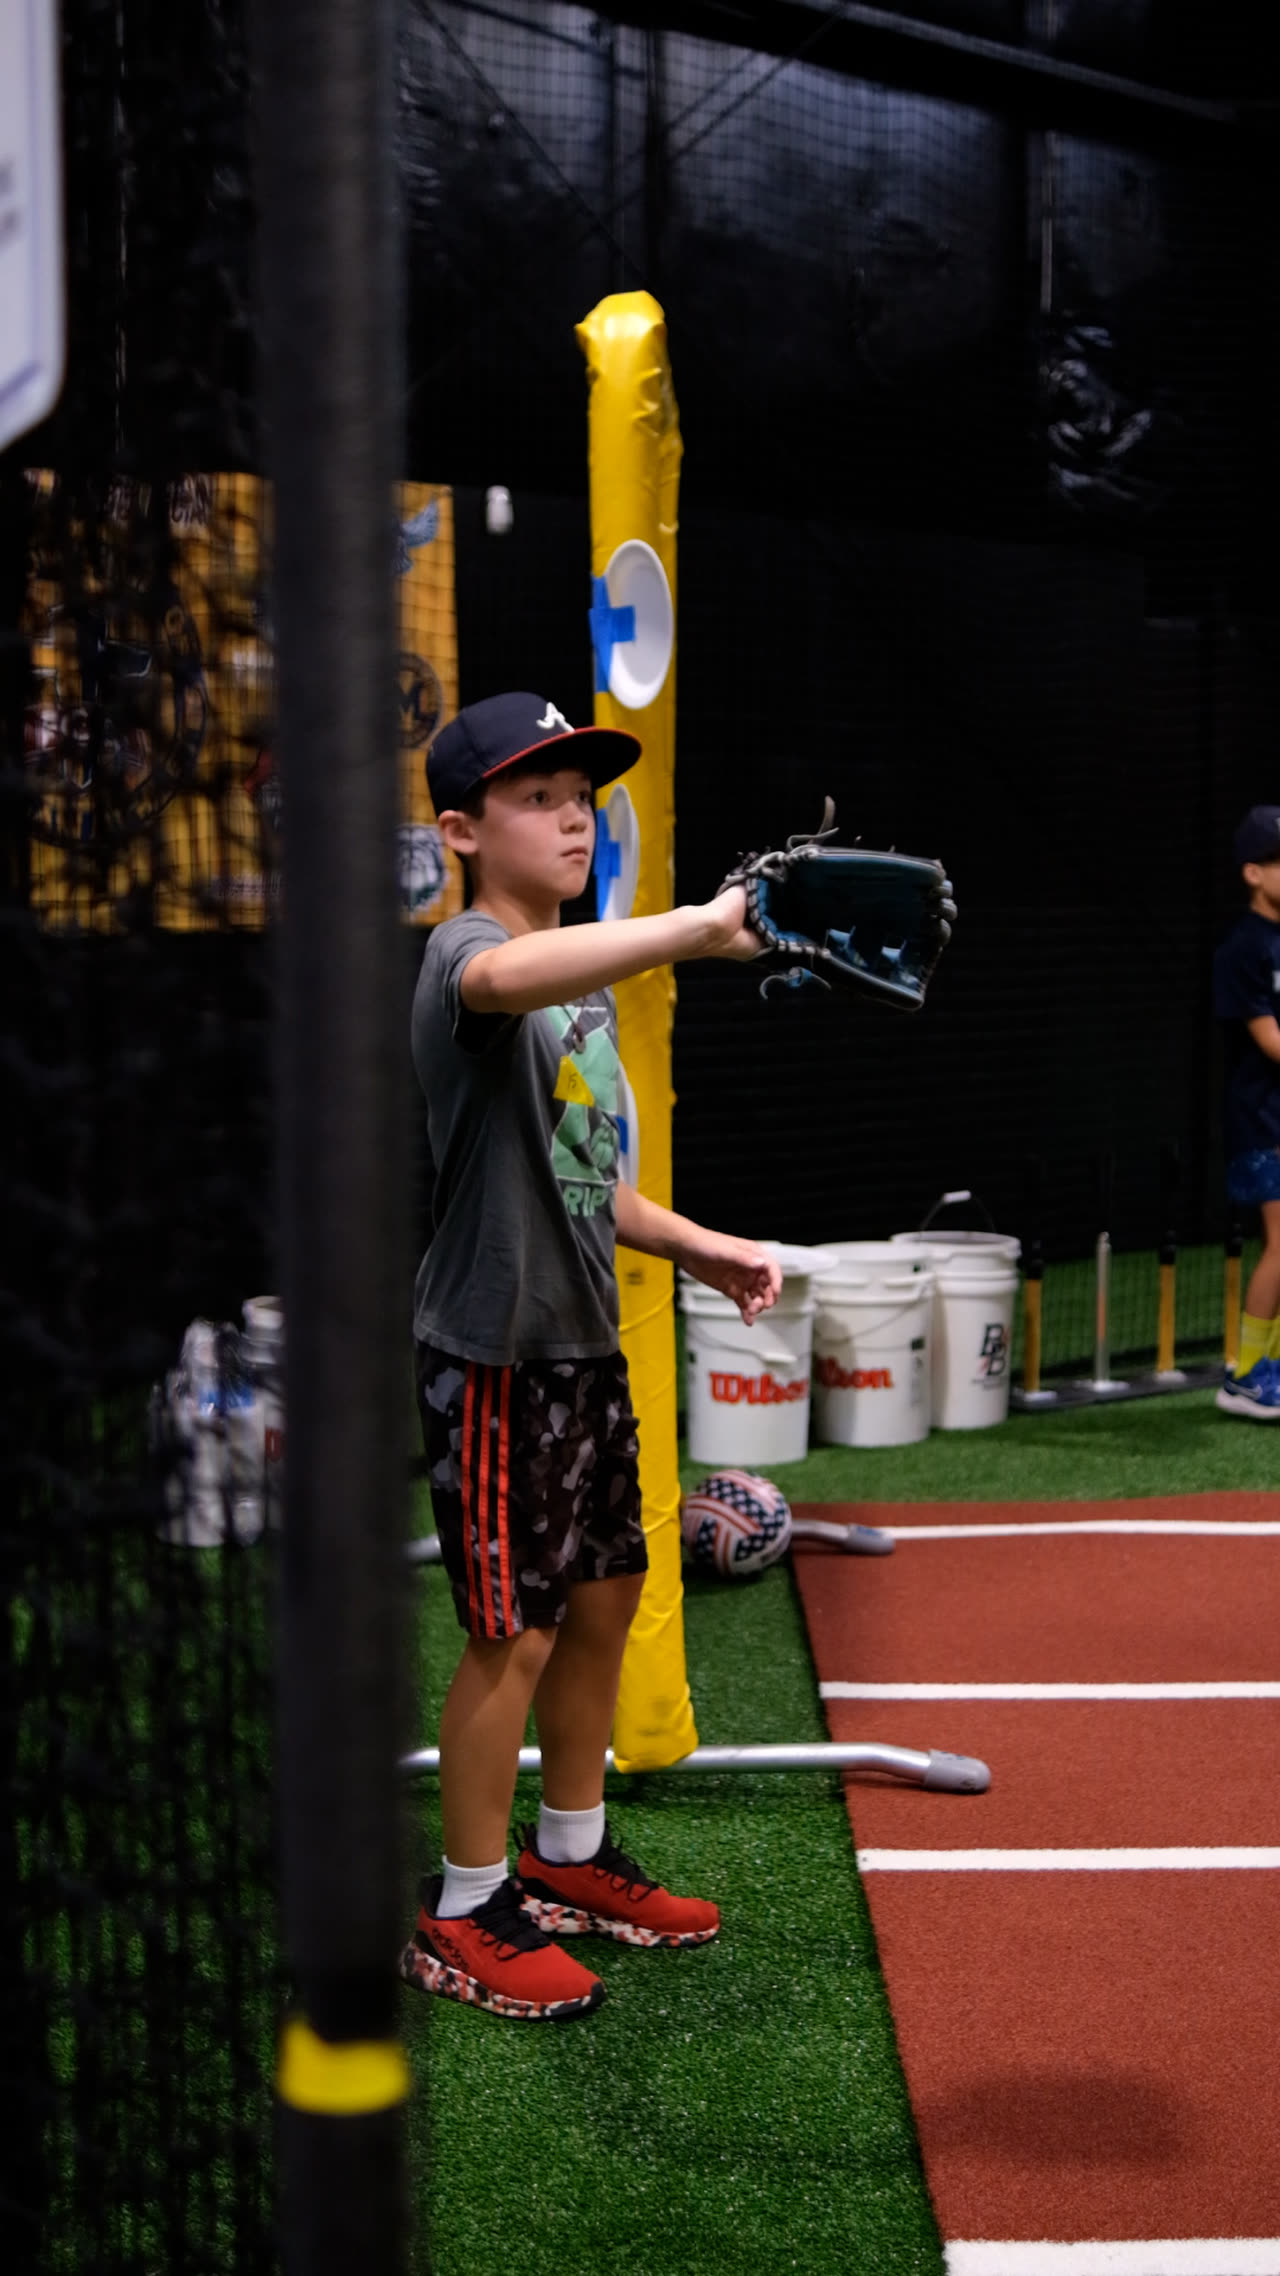
- Do build up distance slowly. Start close, then take a few steps back after every handful of throws. Let the arm ease into the longer distances.
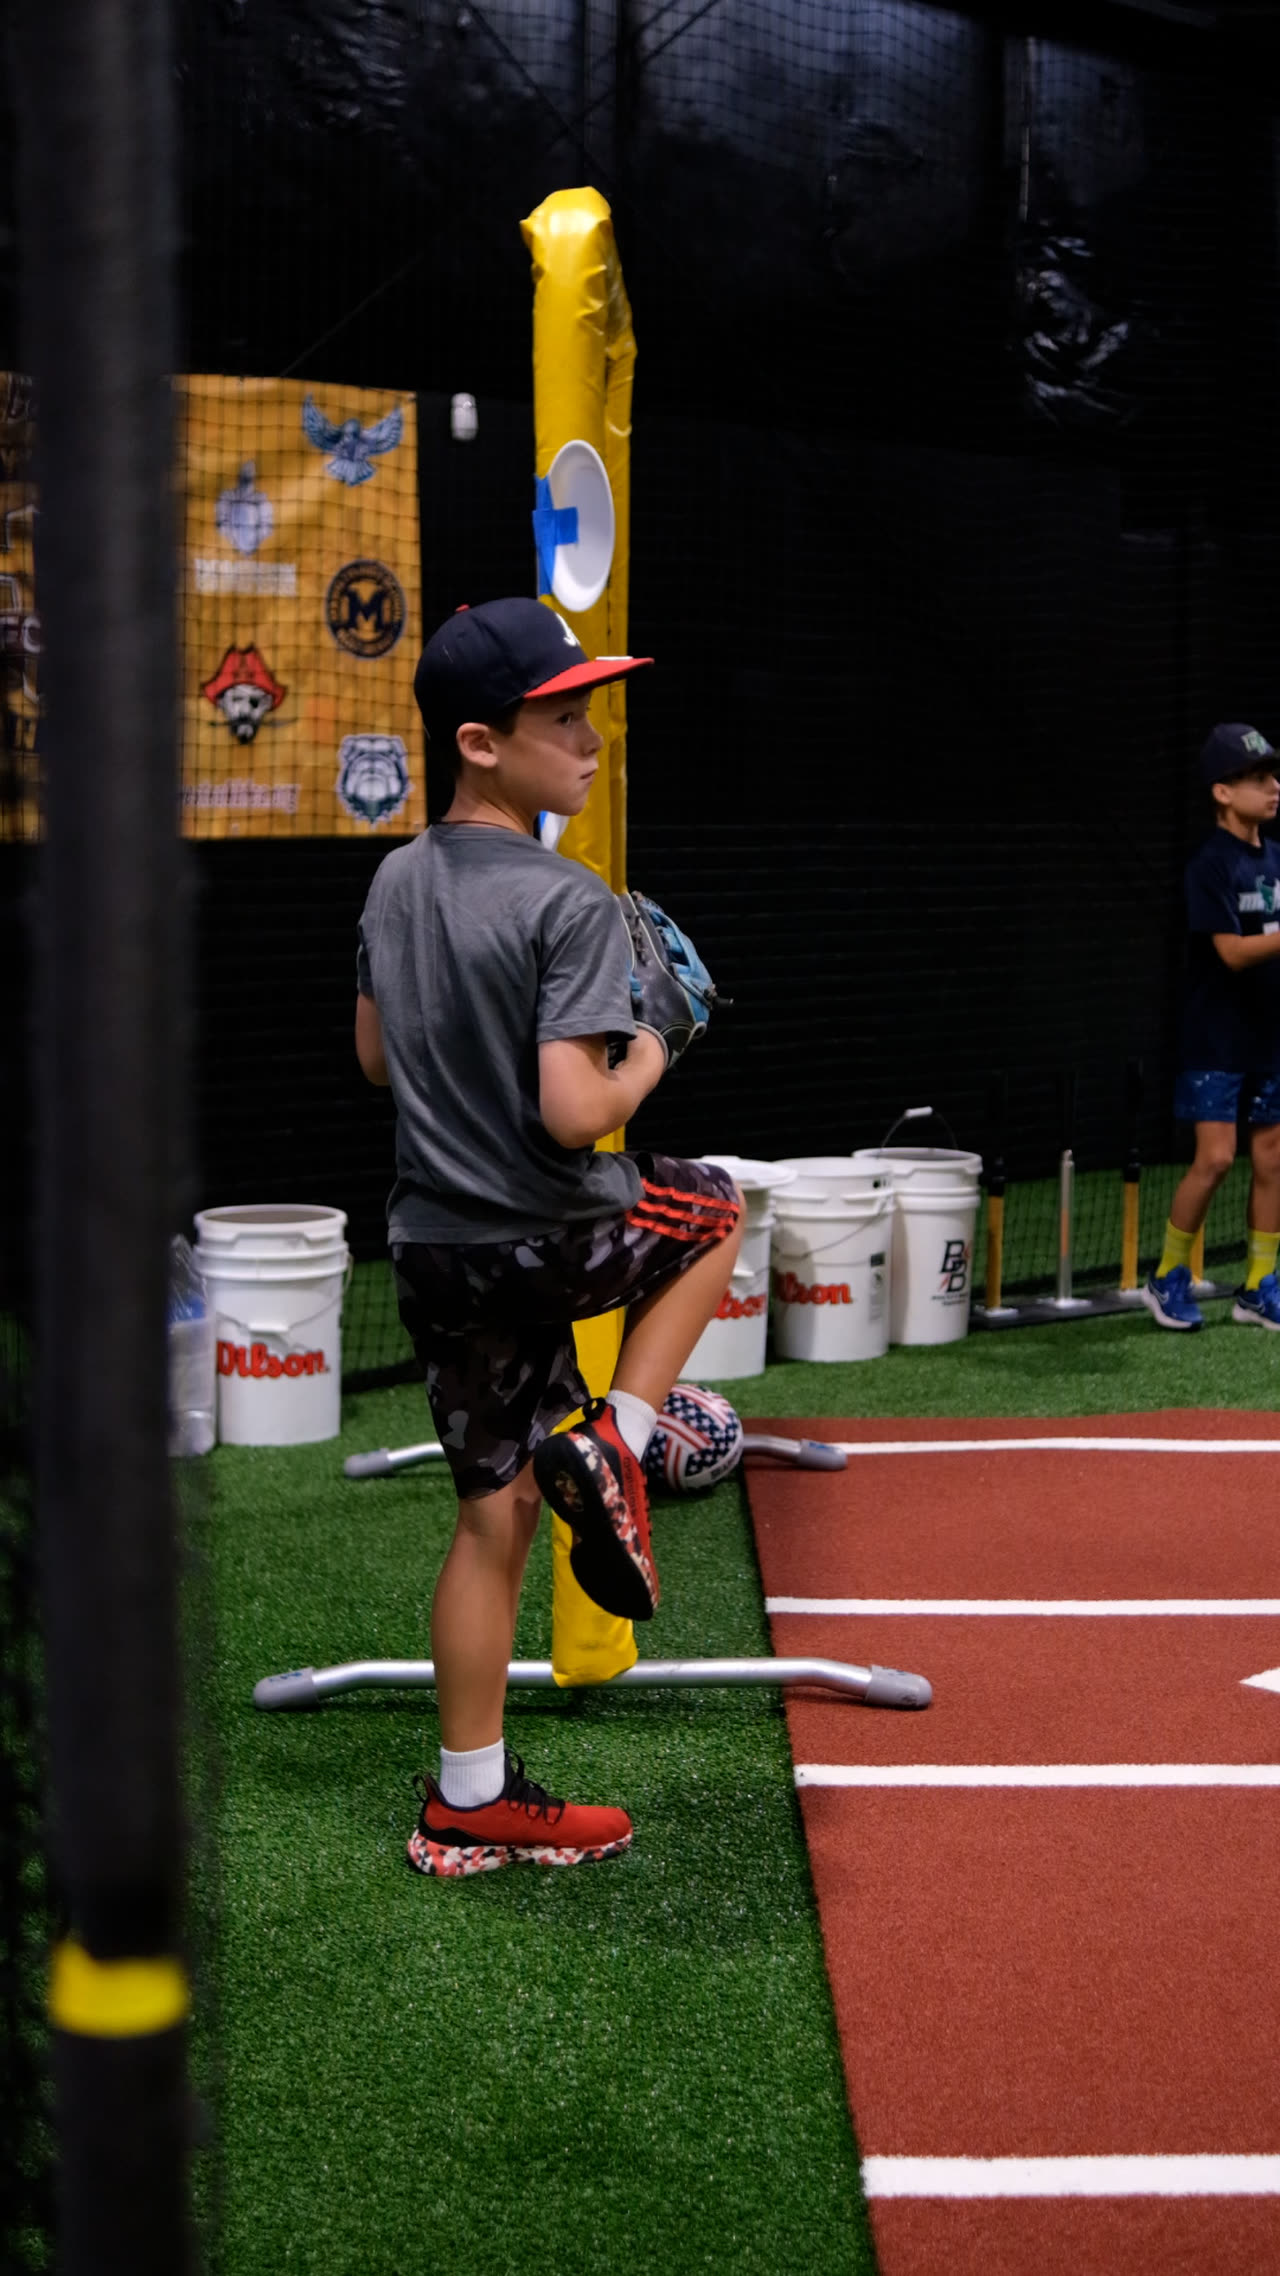
- Do use the whole body. Good throws come from the legs, hips, and core, not just the arm. A strong crow-hop and a full stride keep stress off the elbow.
- Do keep it on a line when pulling back in. After stretching out, come back to shorter distances and throw on a flat, direct line. This teaches great throwing mechanics.
- Do stop when the arm feels tired. Fatigue is when bad mechanics sneak in. A tired arm is a hurt arm waiting to happen.
The theme here is patience. Long toss rewards players who treat it like a build-up, not a one-throw fireworks show. Slow and steady really does win here.
The Don’ts
Now for the mistakes we see most often. If you catch your player doing any of these, it’s an easy fix, and fixing it protects their arm for the long haul.
- Don’t throw through pain. “It’s just sore” is the phrase that ends seasons. Real pain means stop, rest, and get it checked.
- Don’t max out every throw. Grunting and heaving the ball as far as humanly possible is how young arms get hurt. Effort should be controlled, not reckless.
- Don’t skip the warm-up to “save time.” A cold arm plus a long throw is a recipe for a strained muscle.
- Don’t do long toss every single day. Arms need rest days to grow stronger. More is not always better.
- Don’t ignore bad mechanics. If the throw looks all arm and no legs, it’s time to slow down and clean it up.
If I had to pick the single biggest one, it’s throwing through pain. Kids are tough and want to please their coaches, so they’ll often hide a sore arm until it becomes a real injury. Teach your player early that reporting soreness is a sign of maturity, not weakness. A brave kid tells you when something hurts.
How Often Should a Youth Player Long Toss?
For most young players, two or three long toss sessions a week is plenty. That leaves room for rest, practice, and games. Younger kids need even less. The idea is to build the arm gradually over months, not to cram everything into one exhausting week. Think of it like watering a plant: a little bit consistently beats a flood all at once.
Reading Your Player’s Arm Like a Coach
You don’t need a radar gun to know how your player’s arm is doing. A few simple signs tell you almost everything. Watch the day after a throwing session, not just during it. Some soreness in the meaty part of the shoulder or upper back is normal as the arm gets stronger. Pain in the elbow or sharp, pinpoint pain anywhere is a red flag that means back off.
Here’s a quick checklist to use at home:
- Green light: The arm feels a little worked but loosens up quickly. Throws look smooth and easy.
- Yellow light: The arm feels heavy or tired, or mechanics start falling apart. Time to shut it down for the day and rest.
- Red light: Sharp pain, elbow pain, or pain that lingers into the next day. Stop, rest, and check with a doctor if it doesn’t clear up fast.
Learning to read these signals is one of the most valuable things you can do as a baseball or softball parent. The arm always tells the truth.
Why the Right Setting Matters
Here’s where a lot of families get stuck. Long toss needs space, a throwing partner who knows what they’re doing, and ideally a coach who can watch the mechanics. Doing it wrong in the backyard, with no one checking form, is how small problems become big ones. That’s exactly why we built our program the way we did.
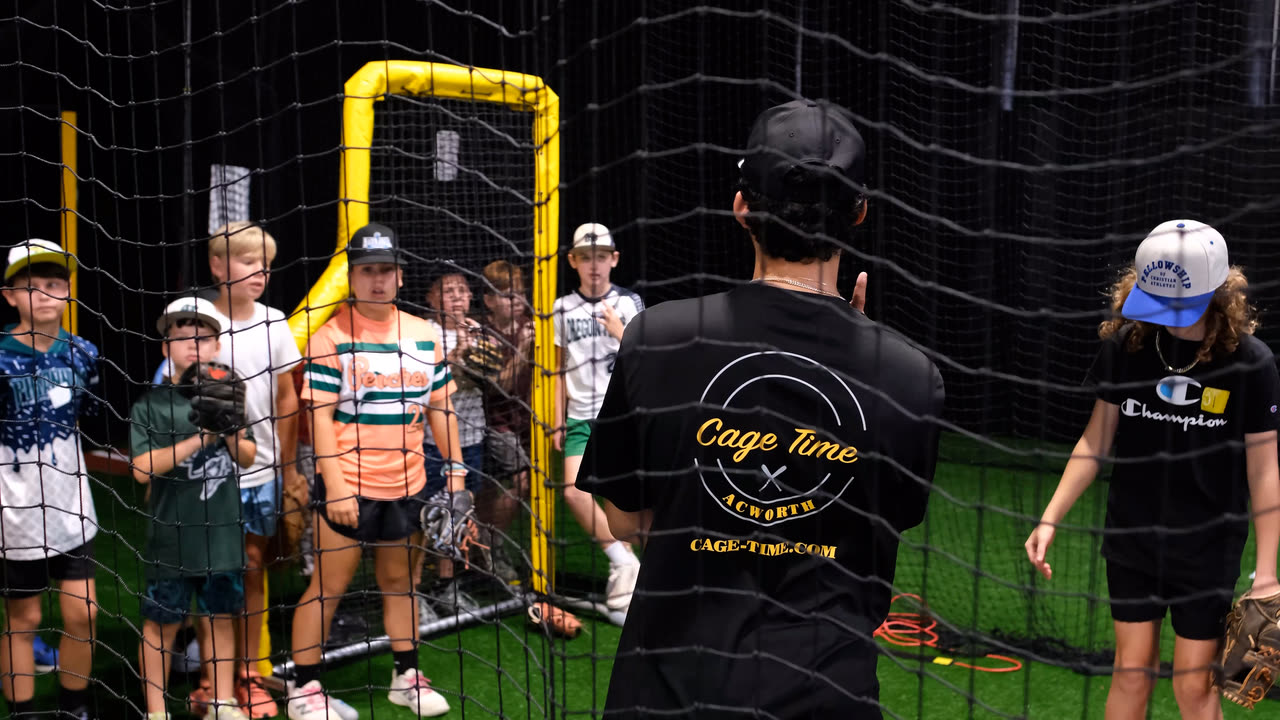
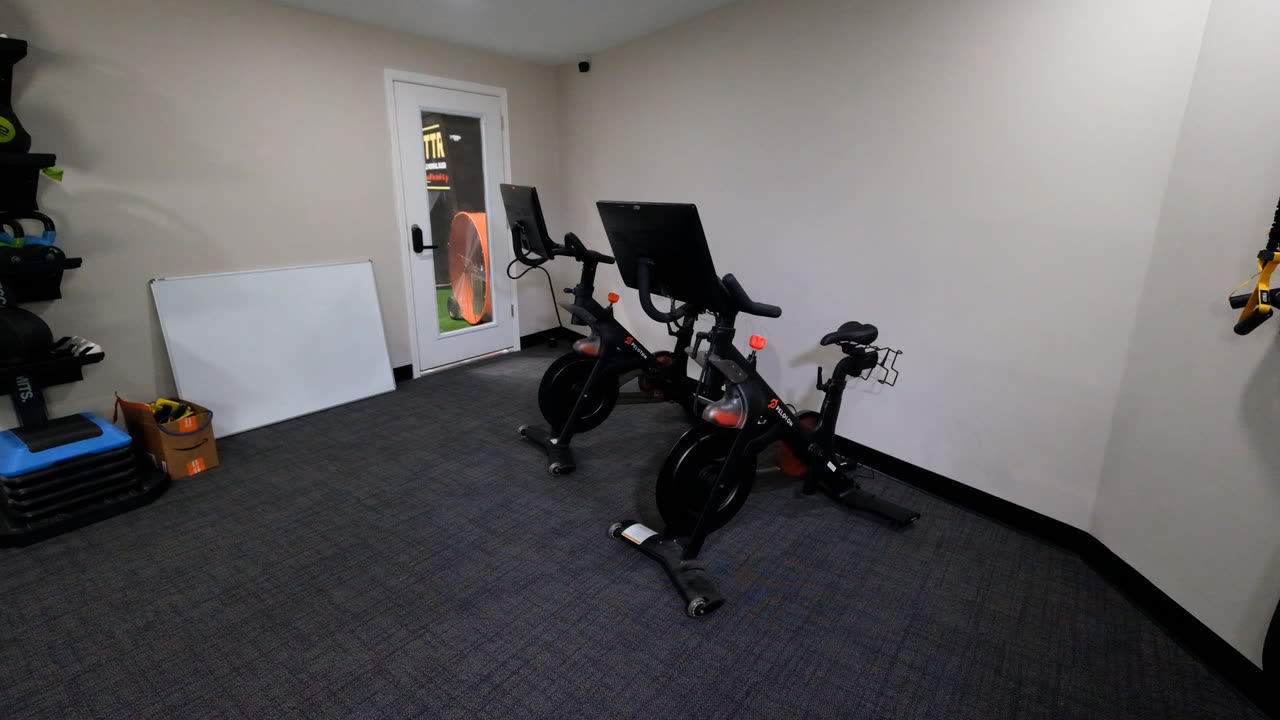
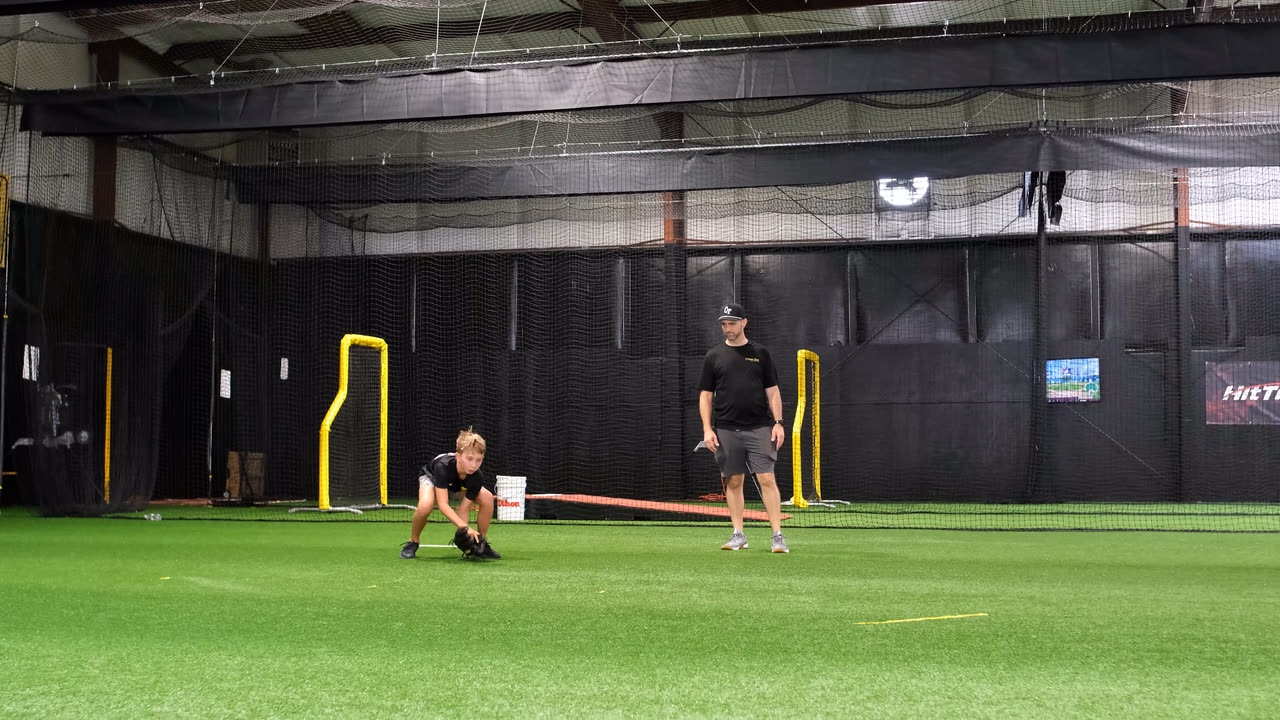
At Cage Time Acworth, our coaches guide players through proper throwing progressions, watch for red flags, and build arm strength the safe way. We tie long toss into a full plan: warm-ups, mechanics work, and recovery. And with our brand-new weight room plus speed and agility training led by Quincy, a former NFL athlete, your player builds the total-body strength that makes throwing easier and safer. A strong body protects a young arm.
Small Habits, Big Payoff
Long toss isn’t complicated, but it does reward players who respect it. Warm up, build up slowly, use the whole body, and stop when tired. Skip the max-effort heaves and the “play through pain” mindset. Do that, and you’ll have a thrower who gets stronger every season instead of sitting out with a sore arm. Remember our mantra: get 1% better every day. A smart long toss routine is one of the easiest 1% wins out there.
Every great arm was built one careful throw at a time. Your player’s arm is worth protecting, and with the right coaching, they’ll be throwing harder and more confidently than ever. Greatness happens in the cage, and it starts with the fundamentals.
Ready to Build a Stronger, Healthier Arm? Book Your Cage
Let’s help your player build arm strength the smart way. Book Your Cage today by calling or texting us at (770) 779-9462, or visit cage-time.com to get started. Our coaches will build a throwing plan that fits your player’s age and goals. We proudly serve young athletes across Acworth, Kennesaw, Woodstock, and all of Cobb County. Come see us at 4946 Cobb Pkwy NW in Acworth, and follow along @cagetimeacworth. Greatness happens in the cage.
Ready to get 1% better?
Book a cage, a lesson, or a membership at Cage Time Acworth.
Book Your Cage